This a cute easy Valentine decoration too! I found it hear at Under my polka dot umbrella.
Showing posts with label Craft. Show all posts
Thursday, January 13, 2011
conversation blocks

I've decided since I don't have as much time anymore (because I am working and trying to take care of my kids) that I am going to post things I want to make, and when I get around to making my own I will post pictures!
I saw these cute little blocks and I think they would make a great Valentines decoration!
I saw them here at Brown Paper Packages.
Sunday, January 2, 2011
Joy Blocks!
Wednesday, November 17, 2010
2x4 Pumpkins and Turkeys
As a Relief Society Activity we made these pumpkins and turkeys to donate to a Meals on Wheels group to use for there Thanksgiving dinner. I think they turned out really cute!
If you go here you can get the directions to make your own cute little turkey!
Sunday, November 14, 2010
Thankful Blocks
I love the month of November, because it reminds me of all the many things that I am thankful for! And during these hard times it is easy to forget that I really have a million things to be thankful for!
Tuesday, November 2, 2010
2x4 frankenstein
I know this is to late for Halloween, but maybe good for next year!
I found this idea here! Isn't he cute!
Sunday, October 31, 2010
Fall Crafts
Better late than never! These are a few crafts I made last month! I love the "BOO" blocks I think they turned out really cute! Thanks to my handy Husband for cutting out all the wood and to my Mom for letting me use here Cricut!

I think these are the cutest Pumpkins! Perfect for Halloween and Fall! They are so simple. They large one is made out of a 2x4. I got the idea for these from here . I have a few other crafts I am working on and will try and post them before the season is over! :)
Saturday, April 24, 2010
The cutest skirt!
I found this simple cute skirt pattern here! It took me about 30 minutes to make! I think it was a little full for my supper skinny girl so I took off about 10 inches. The thing I love the most about this skirt is it doesn't take a lot of material and I already had all the stuff to make it! I think I might even try to make one for myself!
I just found another skirt I think I will have to splurge and go buy some material to make this one!
Sunday, February 7, 2010
Weave a Barrette
I totally remember wearing these barrettes as a little girl! I had actually thought about making them for my daughter a while ago but thought they were too "dated"! Well the 80's are coming back, so I made some for her and she loves them! You can go Family Fun to learn how to make them! They are very easy to make and fast too!
Sunday, January 31, 2010
FHE in a jar!
We made these cute jars for our Relief Society Activity in January. All you do is print up the sheets of paper cut them up fold them and place them in a jar and then on the nights you need a quick Family Home Evening all you have to do is pull out a slip, sing the song, read the scripture and discuss the topic that is printed on the paper! USe the links below to make your own!
The original source of FHE in a Jar on JennySmith.net.
I did have my husband do a little work on the document so that it did not use so may sheets of paper and put it in black and white. If you are interested in it just leave me a comment with your email!
I found some cute tags here or you can just click on the link below.
FHE in a Jar Tags (.pdf - Adobe Acrobat)
I just found FHE for a year that is geared for younger kids. It goes along with the Primary them for this year !
2010 Family Home Evening Lessons
Hope these ideas help!
Tuesday, December 1, 2009
Picture blocks
I found this adorable idea at The Idea Room, it would make a great gift idea for Christmas, Mothers Day or even a Birthday gift which is what I am doing! Here is another version in color.

I made mine a little different by putting all my 3 kids and a picture of grandma and grandpa with the kids on one block. I made this block for my Mom for her birthday and thought it would be cute for her to put on her desk at work!

You will first need to get a block. You can buy them at your local craft store or you can buy a 4x4 post at Home Depot or Lowe's. I am lucky enough to have a handy Husband to cut the wood for me! I had my Hubby cut it at 3 1/2 inches to make it a square block, you might be able to get the guys at Home Depot cut it for you!
Then you will want to sand any rough edges to make them smooth and then paint your block.
Next you will need 4 pictures about 3 inches square. I printed my photos on photo paper.
Paint Modge Podge onto the back of each picture and place one photo on each of the 4 sides of your block. Let Modge Podge dry. When dried paint Modge podge over all the sides of your block and let dry, you may want to do this 3 or 4 times!
Viola!
Paint Modge Podge onto the back of each picture and place one photo on each of the 4 sides of your block. Let Modge Podge dry. When dried paint Modge podge over all the sides of your block and let dry, you may want to do this 3 or 4 times!
Viola!
Friday, November 20, 2009
Toilet Paper Pumpkins
I love these little pumpkins made from a roll of toilet paper and some cute fall fabric!
First you will need a 22 inch square piece of fabric, and a roll of toilet paper.
I cut mine in a circle but you can leave it as a square.
Set the toilet paper in the middle of you fabric!
Use a 6 inch piece of green pipe cleaner and curl it a round your finger and place along side your stem!
Wednesday, November 4, 2009
Seasonal Blocks
We are making these cute blocks next week in Relief Society! I found them here and thought they were cute! These 7 wood blocks spell at least 16 different words (and you might be able to find more, I did, Be Mine) that cover every season and almost every holiday.Here are all the words they can spell:
Harvest
Welcome
Friends
Faith
Family
Spooky
Winter
Freedom
Blessed
Snow
Home
Hope
Monster
Mother
Dream
Easter
ITEMS YOU NEED:
-4x4 post, cut into 4 inch squares.
-craft or spray paint
-vinyl letters
BLOCK 1- H, Y, E, D
BLOCK 2- A, C, R, S
BLOCK 3- R, P, E, T
BLOCK 4- V, N, L, O
BLOCK 5- E, O, M, D
BLOCK 6- S, M, K, I
BLOCK 7- T, F, B, W
DIRECTIONS:
-sand rough edges of blocks
-paint blocks
-distress edges if desired
-apply vinyl lettering
I am looking forward to making these next week, it will be a lot of fun!
Wednesday, October 28, 2009
Pumpkin Jars!

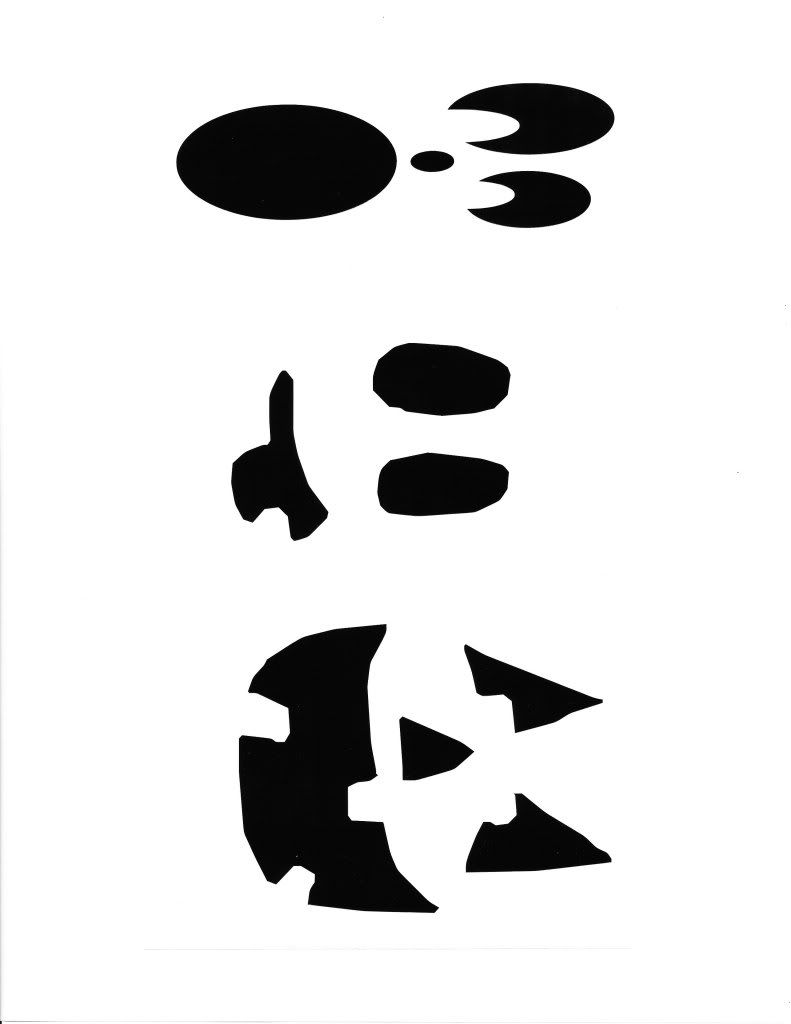
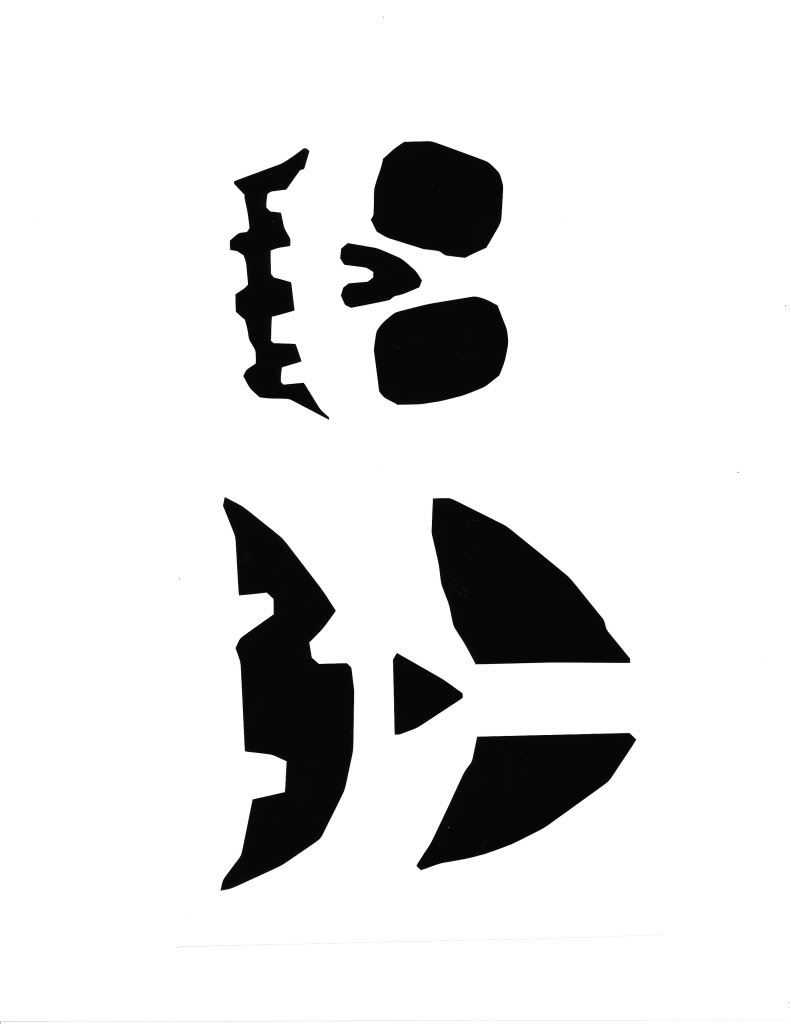
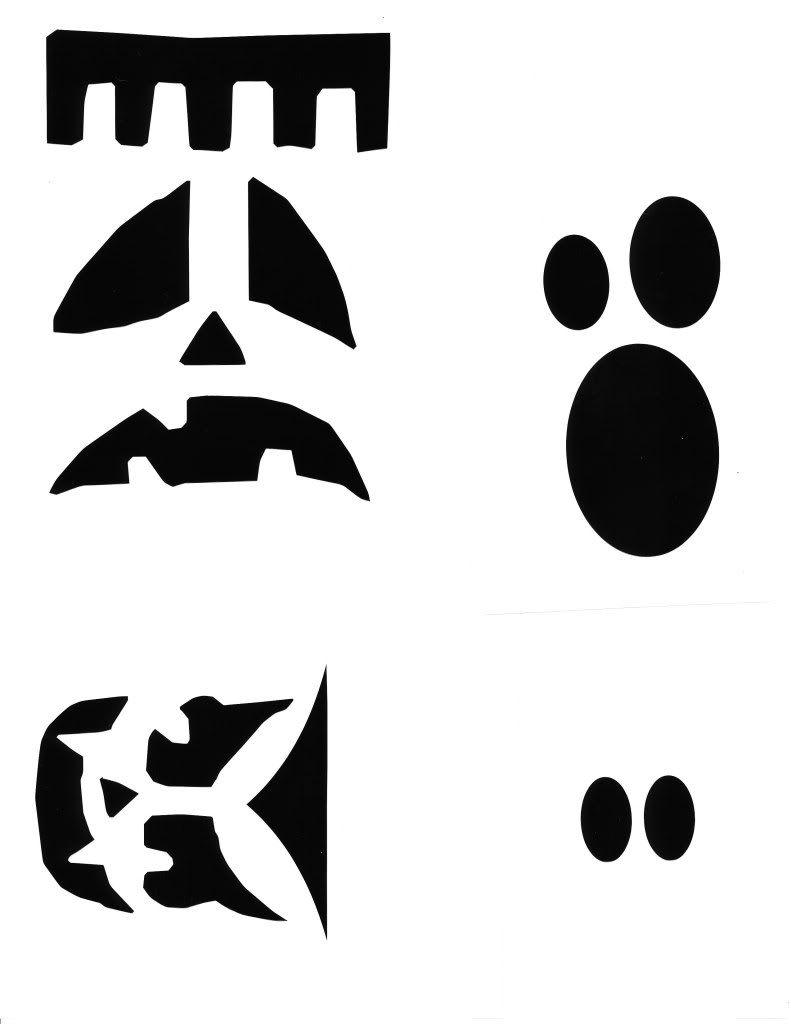
I found these cute pumpkin jars! You can even make a ghost, Frankenstein and a monsters I think they are so cute, easy to make and the best part was that I already had all the stuff to make them, although I think the tissue paper I used was a bit to orange! You can go here to find out how to make them. You can even print up the faces to put on the jar, here, here or here! Hope you have fun making them!
Monday, June 15, 2009
Happy Father's Day!

We made these cute little shirts for fathers day. It was really fun! You can use scrapbook paper and make some really neat looking shirts. It reminds me of origami. We made the shirt and then glued it on the front of a card. Go here for directions on how to make these cute shirts! I made my own tie.
Saturday, March 28, 2009
Hooded Towel
A few years ago I received a hooded towel as a gift for my son "Pear". It was one of the best gifts. Sense then I have made several form my kids and as gifts for friends and family. My kids still use theirs today! These are very simple to make, even if you don't know how to sew you can do this. First you will need two washcloth's and one bath towel. Place the two washcloth's right side together and pin along two edges to form an "L" shape, then sew those to edges, turn it right side out so the seems are on the inside and you will have a little hood! Next fold the bath towel in half and find the center and place a pin there to mark it. Now you are going to pin the little hood and the towel together, open up the towel and lay it out. Place the seem of the hood in the center of the bath towel were the pin is, you will want them to over lap about an 1 to 1 1/2 inches. Pin them together and sew. For a little more decoration you can find matching ribbon to sew along the edge or were ever you want! Hope your kids enjoy this towel as much as mine have!
Update: I noticed on one of the sites I like to go to she had just posted hooded towels too. She makes hers a little different. You can go here to check her's out!
Subscribe to:
Posts (Atom)